Quick Processwire E-Commerce Tutorial: Lean Store on PHP CMS
PHP is the Coca-Cola of web development: it's everywhere, whether you like it or not.
At Snipcart, we love playing with the Jamstack and modern static tools. Yes, serverless set ups are trendy. But they're also real performant.
Still, we'd be hard-pressed to ignore the significance PHP (and, yes, WORDPRESS) has in a vast majority of professional developers' lives. But no, this isn't a WP post. Turns out there are a bunch of other excellent tools running on PHP.
ProcessWire is one of them.
In the last weeks, potential users asked us for tips about using Snipcart, our HTML/JS shopping cart platform, on top of this popular PHP CMS.
So today, I'm going to walk you through a complete ProcessWire e-commerce tutorial with Snipcart.
More specifically, I'll build a working demo store selling anti-clown protection gear. Because scary clowns are everywhere these days, right?
If you prefer a specifically Laravel-powered CMS, check out this PyroCMS tuts.
A word on ProcessWire CMS
ProcessWire is an open source, free PHP CMS intent on giving developers more control and freedom over their websites. It boasts a solid jQuery-inspired API, and is often cited as one of the best PHP CMS out there. The first version of the CMS shipped in 2007, and ProcessWire 3.0 just came out just a few weeks ago.
Pre-requisites
Have a website running a default ProcessWire setup (here's how)
Have a basic understanding of PHP
Have a free Snipcart account (sign up here)
1. Adding Snipcart's API in a ProcessWire field type
You have a site up and running? Good. The first step will be to create a field in ProcessWire to store our API key, found in your Snipcart dashboard under Account > API keys.

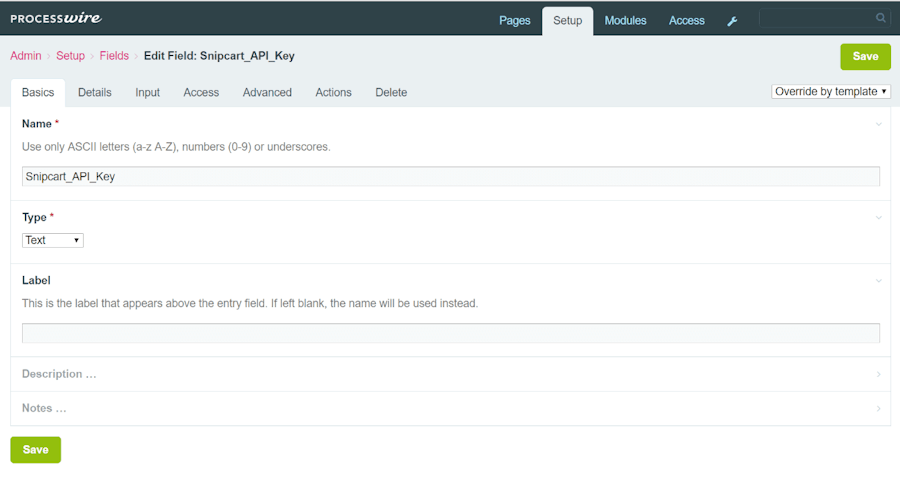
We'll add this field to our homepage.
For this ProcessWire demo, we'll keep the store as lean as possible: just a basic homepage with individual pages for each product.

Go to your homepage in the CMS, and add your Snipcart API key.
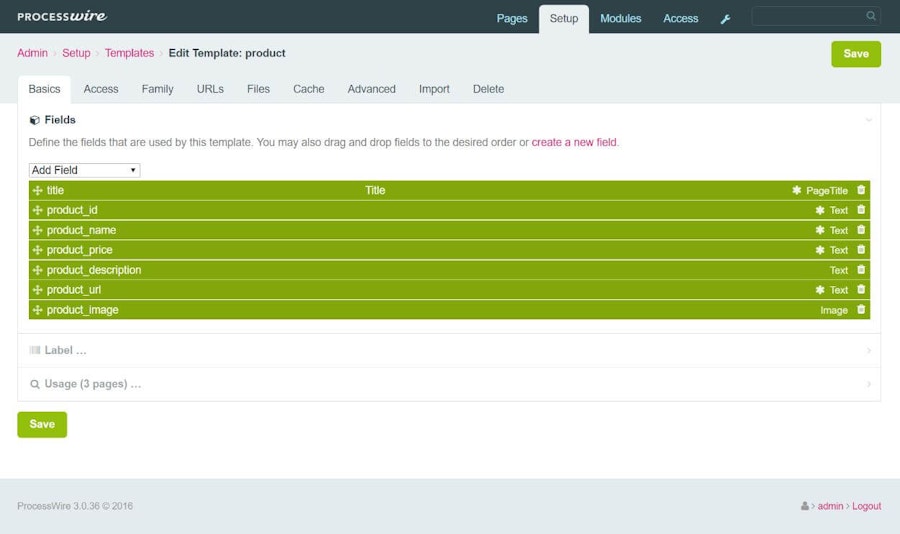
2. Creating the appropriate Snipcart product fields
We'll need some products to sell on our ProcessWire online store, right? To bring these to life, we first have to create the different field types required to define a Snipcart product in the CMS.
Snipcart products are defined using simple HTML attributes. You can learn more about this right here.
We'll create a field for each data-attribute needed to define our products.
Each of them will be a text box, except the image field, which will be an image type.


Now that we have the necessary fields to input our products data, let's create an actual product template in ProcessWire.
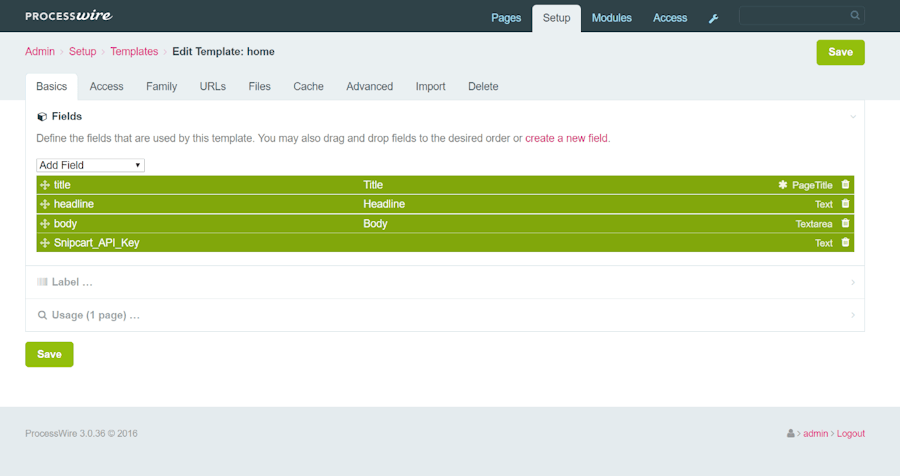
3. Building a ProcessWire template for our products
This template will use the fields we just created to define our product attributes.
Quick precision to avoid confusion: in ProcessWire, templates act as models, and templates files act as views.
We will jump to the template files right after defining our products.
So let's go ahead and create the Product template.

We'll now be able to spawn pages in the CMS using our new Product template.
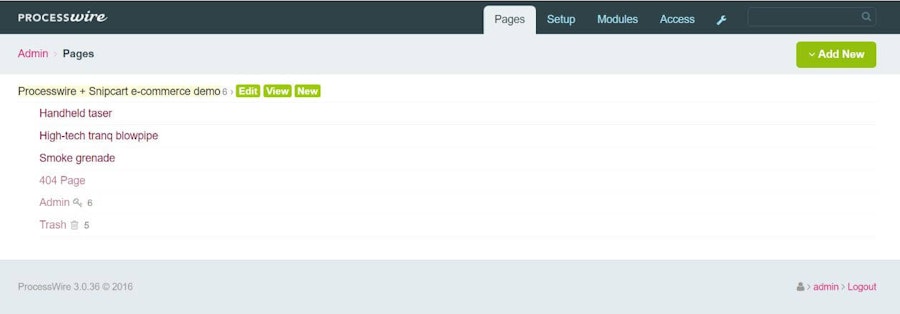
Let's create a page for each of the products we want in our demo store. We'll make these pages children of our homepage.
Here's one of ours:

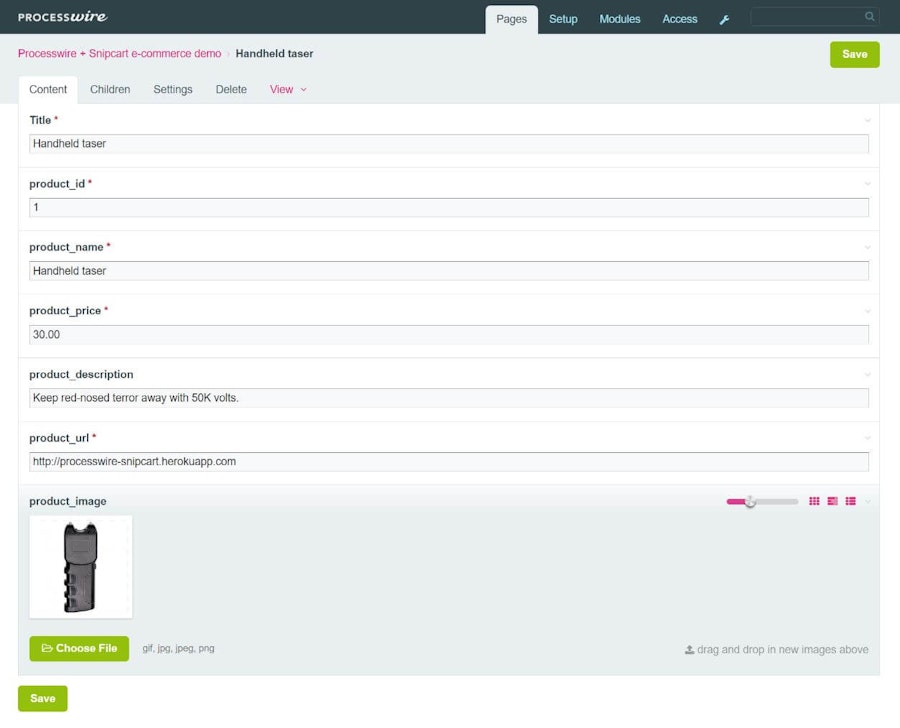
At this point, we have all the necessary data for our ProcessWire e-commerce site to run. We just need a visual output for prospective customers!
Before we move on, have a look at our site architecture until now:

4. Generating our products' template files
We'll start by creating a partial template to include Snipcart's required scripts. You can also find these under Account > API keys in your Snipcart dashboard.
Fire up your favorite editor with your ProcessWire project, and go to ./site/templates.
There, we'll create a _snipcart.php file.
Here's the content we'll put in it:
 <script src="https://ajax.googleapis.com/ajax/libs/jquery/2.2.2/jquery.min.js"></script>

<?php
  $api_key = $pages->get('/')->Snipcart_API_Key;
  echo "<script src='https://cdn.snipcart.com/scripts/2.0/snipcart.js' data-api-key='$api_key' id='snipcart'></script>";
?>

<link href="https://cdn.snipcart.com/themes/2.0/base/snipcart.min.css" rel="stylesheet" type="text/css" />
This is the partial we'll use when we need the Snipcart scripts on a given ProcessWire page. It will allow us to generate buy buttons for your product, which will make Snipcart's shopping cart pop right up!
Now, since we already have a Product template, we'll generate a template file that'll serve for each unique product page.
In the same templates folder, create a product.php file.
Our server will use this to render any product page.
Here's our template file for the demo:
 <?php

  include('./_head.php'); // include header markup ?>

    <div class='product'><?php

      echo "<h1>" . $page->product_name . "</h1>";

      echo "<p>" . $page->product_description . "</p>";

      echo "<button class='snipcart-add-item'
              data-item-id=$page->product_id
              data-item-name=$page->product_name
              data-item-price=$page->product_price
              data-item-url=$page->product_url
              data-item-description=$page->product_description>
              Buy $page->product_name
          </button>";


    ?></div><!-- end content -->

  <?php include('./_snipcart.php'); ?>
  <?php include('./_foot.php'); // include footer markup ?>
Basically, this creates a simple <div> with some text, and uses our fields to get the product attributes we need for our buy button.
You can see we included our ./_snipcart.php partial to inject the required Snipcart scripts.The product page's buttons will need them in order to work!
4. Putting the final touch on our ProcessWire e-commerce site
Apart from our individual product pages, we'll also create a products listing page for our demo. We'll use our homepage to do so.
Stay in the same templates folder, and open the home.php file.
There, we'll render a little <div> for each of our products, and add an anchor tag linking them to their respective page.
Here's how we've done it:
<?php include('./_head.php'); // include header markup ?>

<div id='content'><?php

   echo "<h3 class='site-title'>" . $page->get('headline|title') . "</h1>";

   echo "<div class='products'>";

       echo $page->body;

       foreach($page->children() as $product) {
           $image = $product->product_image->first->url;
           $render = "<div class='product'>"
                   . "<div class='product-description'>"

                      . "<img src='$image' height='150px'>"
                      . "<a href='$product->url'>$product->title"
                      . "<p>$product->product_description</p>"
                      . "</div>"
                      . "<button class='snipcart-add-item'
                               data-item-id='$product->product_id'
                               data-item-name='$product->product_name'
                               data-item-price='$product->product_price'
                               data-item-url='$product->product_url'
                               data-item-description='$product->product_description'>
                               Buy $product->product_name
                         </button>"
                      . "</a>"
          . "</div>";

           echo $render;
       }

   echo "</div>";


?></div><!-- end content -->

<?php include('./_snipcart.php');?>
<?php include('./_foot.php'); // include footer markup ?>
As you can see, we iterate through the homepage's children pages, and we create a <div> for each of them.
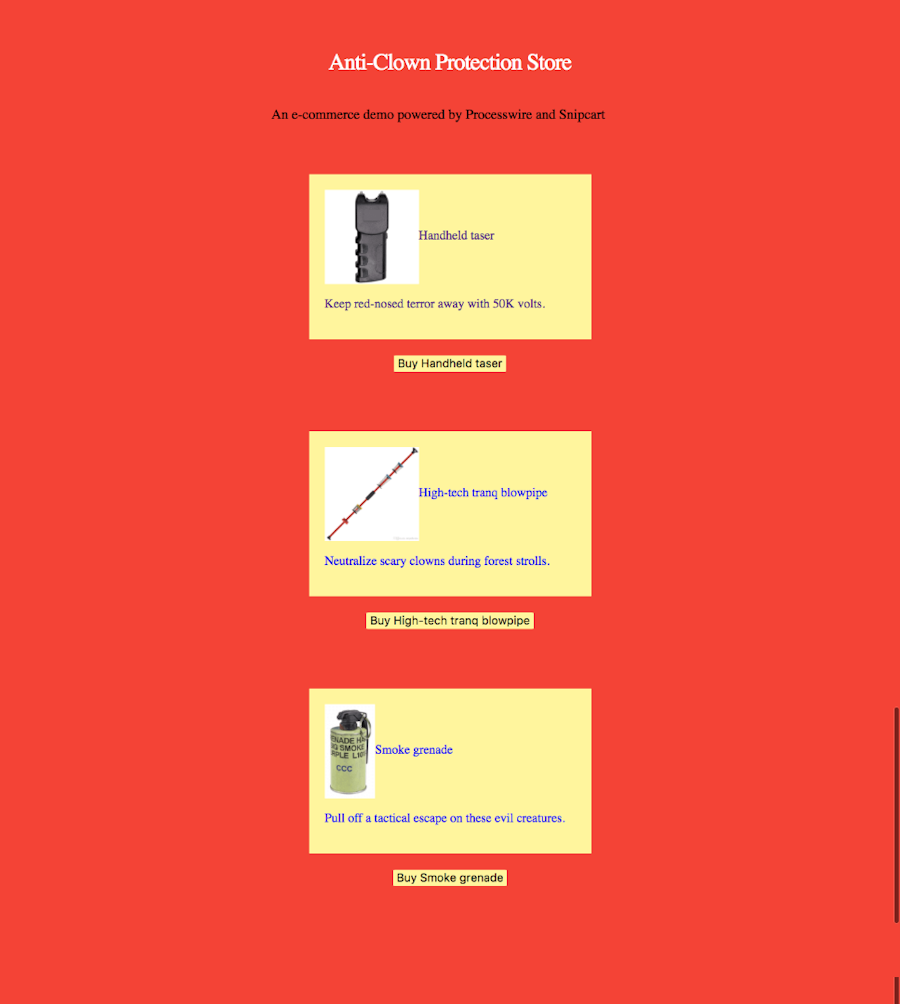
5. Witnessing the awesomeness of our ProcessWire e-commerce demo
We now have both our models & our views; everything we need to showcase and sell our products. It's safe to say we're ready to roll! Congrats!
If you've been following along this tutorial, you can hit up your own server URL to see the result!
Here's a screenshot of our magnificent homepage:

ProcessWire tutorial: conclusion
Going through this simple ProcessWire tutorial should take you about an hour or two. If you push both Snipcart and the PHP CMS further, you might spend a full day or two on your project.
As I was crafting this tutorial, I enjoyed learning more about the PHP/Apache/MySQL stack. Truth be told, I had never played a lot with it before!
Architecture-wise, the CMS is very unopinionated: it gives you lots of control when building your site. It's an interesting approach for experienced developers, but maybe a bit of a challenge for beginners. With this in mind, it's easy to understand why ProcessWire doesn't come with a native templating engine. Still, such an engine could have fast-tracked development for me, as it did with October CMS.
However, I felt that the comprehensive documentation and active community around the CMS were really, really helpful.
I hope this post can act as a helpful guide if you end up working on a project with Snipcart + ProcessWire. And if you do build such an e-commerce set-up, feel free to send it our way: we'd love to have a look! :)
If you found this post entertaining or valuable in any way, take a second to share it with a tweet. I would love that! Any questions or comments regarding ProcessWire CMS or Snipcart? Hit the section below!


