CloudCannon CMS for Jekyll: Building a Multilingual Site
In a rush? Skip to tutorial steps or GitHub repo & live demo.
DEV FRIEND: "Static site generators are cool, but I couldn't hook my next client up with, say, Jekyll."
ME: "Why is that?"
DEV FRIEND: "Well, I'd need a Jekyll multilingual site with e-commerce, plus some type of simple CMS for Jekyll so my client wouldn't touch any code. Last I checked all that was less of a hassle with a good ol' CMS."
ME: "It's 11 PM, and I've got a beer to finish, but let me get back to you on that."
The following day, I sat down with our content team and told them about my friend. We decided to come up with a tutorial to ~~prove him wrong~~ help him out.
2-3 years ago, modern static sites were regaining popularity, but suffering heavy backlashes:
No backend! No dynamic functions! No complex data handling! No CMS!
With the rise of the JAMstack, however, things have changed.
Today, I'm going to show how to integrate multiple languages into a Jekyll site and strap an easy-to-use CMS on top of it—CloudCannon.
We'll also be using one of CloudCannon's nifty Jekyll templates with built-in Snipcart e-commerce.
First, a bit of context.
CMS for Jekyll: CloudCannon & alternatives


Created by GitHub co-founder Tom Preston-Werner, Jekyll has positioned itself as the static site generator in the last years. Written in Ruby, it allows developers to quickly transform plain text into full-blown sites & blogs. Its go-to tools:
Markdown writing
Liquid templating
Front matter formatting
HTML/CSS styling
To get more hands-on with Jekyll, read this popular post of ours.
Is managing content on Jekyll sites easy?
For us developers? Yeah. With Jekyll, we ditch databases and store content in any Git repo—making for faster, secure sites. Now, most of us know their way around Git. We find no challenge in, say, blogging in markdown files and pushing to GitHub. Quite the opposite.
But non-technical folks? Yikes.
Mastering a UI like WordPress' is often a challenge for green content editors. So you can bet they'll hate your guts if you force them into a Git-centric workflow. It's no surprise that the lack of CMS for Jekyll has been a recurring complaint from developers building sites for non-technical clients.
Good news is these complaints are slowly fading. Why?
Because an ecosystem of content management systems for static sites is slowly but surely emerging.
Why use CloudCannon as a CMS for Jekyll?


Clearly it can't be that bad, right? Bragging aside, we (Snipcart) go way back with CloudCannon. However, in the spirit of transparency, I'd like to list a few valuable Jekyll admin solutions.
Jekyll CMS alternatives

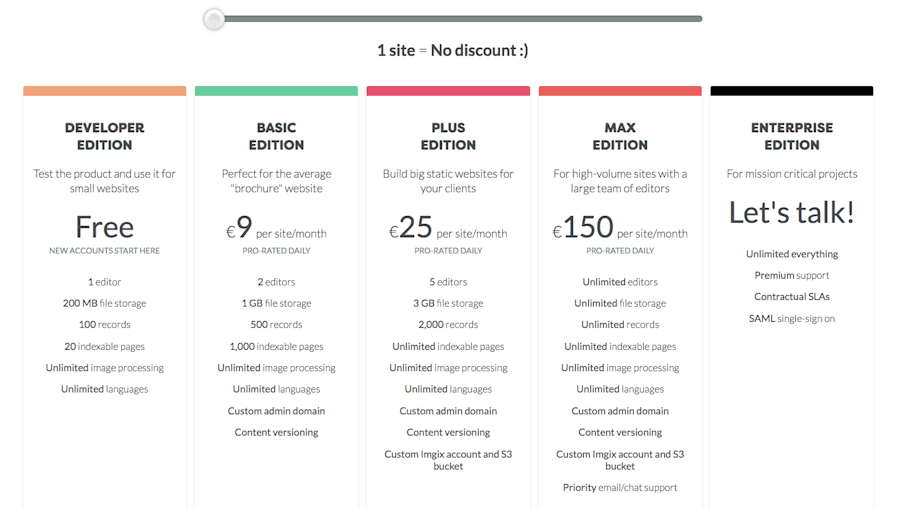
→ Supports: roles & permissions, content preview, Markdown or WYSIWYG editor, collections, advanced metadata, custom permalinks, GitHub integration.
→ Hosting: Amazon S3, GitHub Pages, Rackspace, FTP.

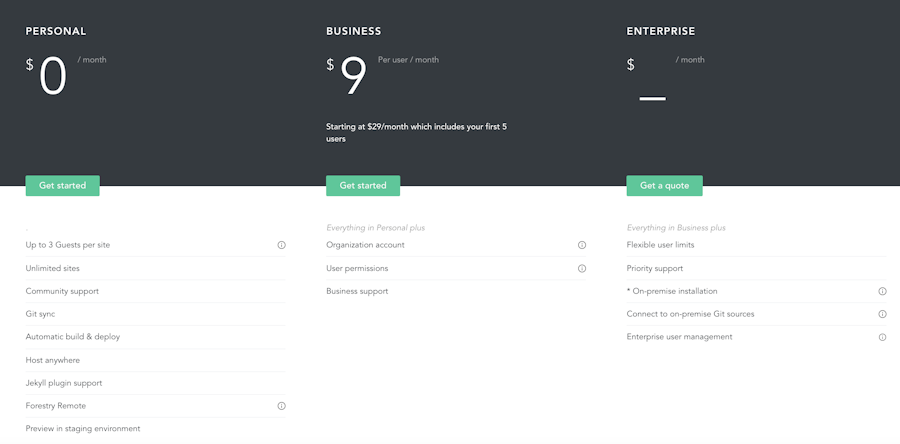
→ Supports: roles & permissions, Git integration, mobile management, content preview.
→ Hosting: Amazon S3, GitHub Pages, Fastly, FTP, etc.

→ Supports: roles & permissions, Git integration, collections, advanced metadata.
→ Hosting: Netlify, Amazon S3, GitHub Pages, FTP, etc.
→ Pricing: FREE—open source
→ Supports: roles & permissions, GitHub integration, edition workflow, extendable UI, content preview, flexible content types.
→ Hosting: Easy with Netlify CDN, but host-agnostic.
So why CloudCannon CMS?
Like others above, CloudCannon leverages Git to synchronize website collaboration between non-technical users & developers.
Content editors use the clean graphical interface; developers stay in their chosen repo.
1st scenario: Editor edits content in CloudCannon UI → CloudCannon saves content in GitHub → build
2nd scenario: Developer pushes to GitHub → CloudCannon receives webhook → synchronizes data → build
Marketers get more autonomy; developers save time.
Key sections can be easily edited in-app, and so can meta data with front matter. The CMS will automatically choose the right field type in the UI by binding to the name of your front matter tags: color pickers, date pickers, collections dropdowns, etc.
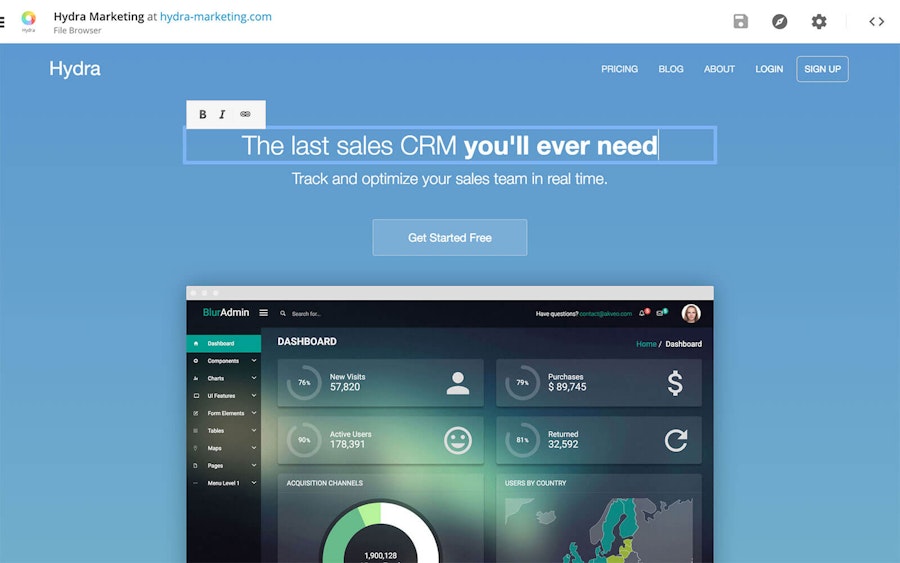
CloudCannon also pushes the "user friendliness" of content management further with inline editing. The admin can display a visual editor of the Jekyll site where editors simply click on fields they want to edit. These fields have to be pre-determined by developers (docs here).

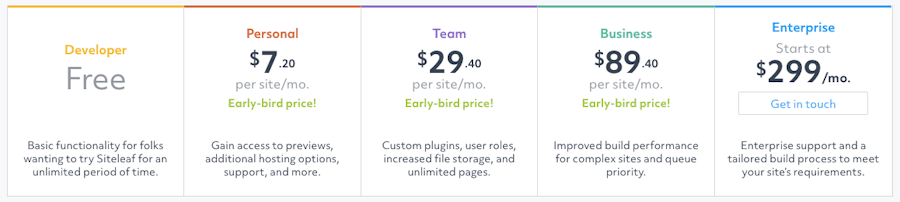
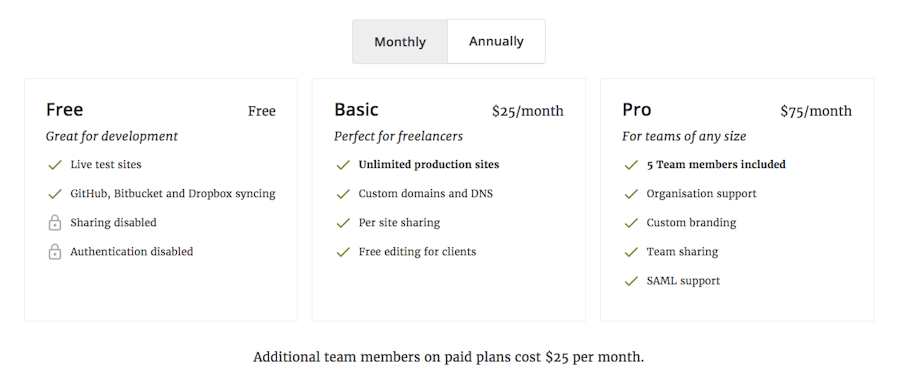
Its pricing scales super well for freelancers and teams too:

Multilingual Jekyll sites: context
At its core, Jekyll is a "hackable" generator. It's one of the reasons devs love it. If your use case isn't supported out of the box, you just use or build plugins.
Our "advanced" use case here? E-commerce multilingual support.
In our Québec hometown, bilingualism [FR/ENG] is often a must for merchants.
While traditional platforms like WordPress typically offer easy "i18n" plugins & features to support multiple languages, static generators like Jekyll require a bit more work. A small trade-off for their benefits: performance, security, simplicity, scalability.
There a few options available to build a multilingual website with Jekyll. Some use gem plugins, others are hand-made using all the flexibility of Jekyll. The ones I tried (like the Jekyll multiple languages plugins) were interesting but incompatible with most recent Jekyll versions. So for this tutorial, I went with a custom approach. Why? First, so you can use an up-to-date Jekyll and update it later without dealing with gems and Ruby code. Second, because GitHub pages (which we'll use later) won't execute custom Jekyll plugins.
The following demo will show you how to use CloudCannon's Jekyll e-commerce template and:
Structure & prepare site/templates for multiple languages
Add a language selector to Jekyll template
Set up translation fallback for content that hasn't been translated
Allow permalinks to be 100% translated
Building a Jekyll multilingual site with CloudCannon CMS
When launching a new project on CloudCannon, you can either 1) use their templates, 2) import static files, or 3) sync an existing repo from one of their supported storage (GitHub, Bitbucket, Dropbox).
One of their base templates comes with Snipcart built-in. We'll use it for this multilingual demo, and GitHub for storage.
Prerequisites
Git, Ruby and bundler installed
A basic understanding of Jekyll
A Snipcart account for e-commerce to work (free in test mode)
1. Installing and tweaking the Jekyll template
First, let's clone the repo. Later, we'll deploy to CloudCannon, allowing editors to manage content/products.
git clone https://github.com/snipcart/demo-cloudcannon.git my-ecomm-site
cd my-ecomm-site
At the project's root, a Gemfile defines Jekyll's version, which we'll install using bundler. This allows us to make sure we're using the proper Jekyll version:
bundler install
bundler exec jekyll serve
Now go to http://localhost:4000/. Local website running, yay!
First thing you should have a look at is _config.yml. That's where we'll change the main information about the site. Let's start by choosing a great title and set your Snipcart API Key.
To update _config.yml, you'll have to restart the bundler exec jekyll serve command. Most other changes should be picked up automatically by Jekyll. Other noteworthy stuff:
_sassfolder: site's styles in SCSScss,images&jsfolders: static assets_layout&_includesfolders: templates_products,_categories&_pagesfolders:Actual content of your website in multiple subfolders per lang
A
_defaults.mdfile defining default fields enabling content creation on CloudCannon
2. Organizing Jekyll content for multiple languages in CMS
Organizing site content will define how we work with Liquid templates and how CloudCannon will handle editing. I went with subdirectories per lang since it fits with Jekyll's configuration to set default values.
A few things in _config.yml for our translation:
langsvariable: list of supported languagest.default_langvariable: default languageused to know which language's at the root of the site
our products' data are fetched from the default language version of the product
t.{en/fr/...}values:localization strings where we'll put translations for our templates
in any Liquid template, we'll be able to use
{{site.t[page.lang].my_translated_string}}
defaultsvalues: filter our content by file path to set default values
Let's have a closer look at the defaults values' format:
defaults:
  -
    scope:
      path: "_products/fr"
    values:
      permalink: "/fr/produits/:title"
      lang: "fr"
For each supported site lang, we'll add one of these blocks to set language on the subfolder and translate the permalink. That block above basically means:
For any content file in the _products/fr folder, set the lang to fr and use /fr/produits/:title as permalink.
So we can translate the base of our URLs for each lang. Because the :title parameter is replaced by the slug variable from our content documents, we can have fully translated URLs! :)
3. Allowing users to switch language on site
An important component of a multilingual site is the ability to switch languages. We'll need an easy-to-use language selector here.
That's where some of the content organization decisions we made come in handy. To identify corresponding pages in different languages, we'll use the file's name. Say you have created a product in _products/en/burger.md, you'd create its French equivalent in _products/fr/burger.md.
<ul>
<!-- site.langs is the list of supported languages we defined in _config.yml -->
{{ for lang in site.langs }}
    {% if lang == page.lang %}
    <!-- We are on that lang's page, no need for a link -->
    <li class="active">{{lang}}</li>
    {% else %}
    <li>
        <!-- extract the file name from its path -->
        {% assign pageName = page.path | split:'/' | last %}
        <!-- generate the path of the file in the other language -->
        {% capture otherPath %}_{{page.collection}}/{{lang}}/{{pageName}}{% endcapture %}
        <!-- get the page in the other language from its collection -->
        {% assign otherPage = site[page.collection] | where:'path', otherPath | first %}
        <!-- getting the page's URL that way allows us to fully translate our page URLs -->
        {% assign langUrl = otherPage.url %}
        <a href="{{langUrl}}">{{lang}}</a>
    </li>
    {% endif %}
{{ endfor }}
</ul>
Code might seem a bit complex, but unlike other approaches, it enforces a specific format for each page's language URL. It's what allows us to fully translate every URL.
4. Listing all products—even those without translations
Even with a good CMS and structure, managing many products & languages can become hairy. It's easy to forget a translation. Still, you wouldn't want a product hidden from your customers should that mistake happens.
Or, for instance, if your costs increase and you need to update prices, you don't want to have to pass every products' languages to update prices.
To avoid all that, we'll use price information from the product in your site's default language.
Here's how to list every product and fallback to the site's default language:
<!-- we start with a Jekyll hack for creating an array -->
{% assign productNames = "" | split:'/' %}
{% for product in site.products %}
    <!-- the idea is to get every product's name -->
    {% assign productName = product.path | split:'/' | last | split: '.' | first %}

    <!-- include.category is defined on the Jekyll directive containing this file -->
    {% if include.category == blank %}
        <!-- no category so we list all products -->
        {% assign productNames = productNames | push:productName %}
    {% else %}
        <!-- here a small fix to account for how CloudCannon links our products to categories -->
        {% assign productCategory = product.category | split:'/' | last %}
        {% if include.category == productCategory %}
            <!-- this product is part of the category we're listing -->
            {% assign productNames = productNames | push:productName %}
        {% endif %}

    {% endif %}

{% endfor %}
<!-- filter out duplicates: we get every product's file name for a category even those missing translations -->
{% assign productNames = productNames | uniq %}

<ul class="product-list">
{% for currentName in productNames %}
    {% assign mainProduct = null %}
    {% assign currentProduct = null %}

    <!-- Okay, not proud of that: algorithm complexity is O(n²) -->
    {% for product in site.products %}

        <!-- same way to get the product name again -->
        {% assign productName = product.path | split:'/' | last | split: '.' | first %}
        {% if currentName == productName %}
            {% if product.lang == site.t.default_lang %}<!--
                it's the product's data for the default language,
                we'll use that one for pricing data
            -->{% assign mainProduct = product %}
            {% endif %}

            {% if product.lang == page.lang %}<!--
                here's the one we're actually looking for
            -->{% assign currentProduct = product %}
            {% endif %}

            {% if currentProduct == null %}<!--
                let's have a fallback in case both the default language
                and the current one aren't found
            -->{% assign currentProduct = product %}
            {% endif %}
        {% endif %}
    {% endfor %}

    {% if mainProduct == null %}
        {% assign mainProduct = currentProduct %}
    {% elsif currentProduct.lang != page.lang %}
        <!-- it's better to use the default language for missing translations than a random one -->
        {% assign currentProduct = mainProduct %}
    {% endif %}

    <!-- enough code here, let's pass that data to another file -->
    {% include product.html main=mainProduct current=currentProduct lvl=include.lvl %}
{% endfor %}
</ul>
Two main parts to the code above:
Getting every product's filename for a category
Getting the actual product's data from that filtered list
We have to do that because Jekyll's where_exp is very limited. We can only compare items property with another variable and not a transformed value.
And that's it! That was the most hard stuff to get multilingual. A few ideas to make your site even more awesome:
Add alternate links in your site's head.
Add products ordering.
Add CloudCannon's editor links to your products.
GitHub repo & live demo

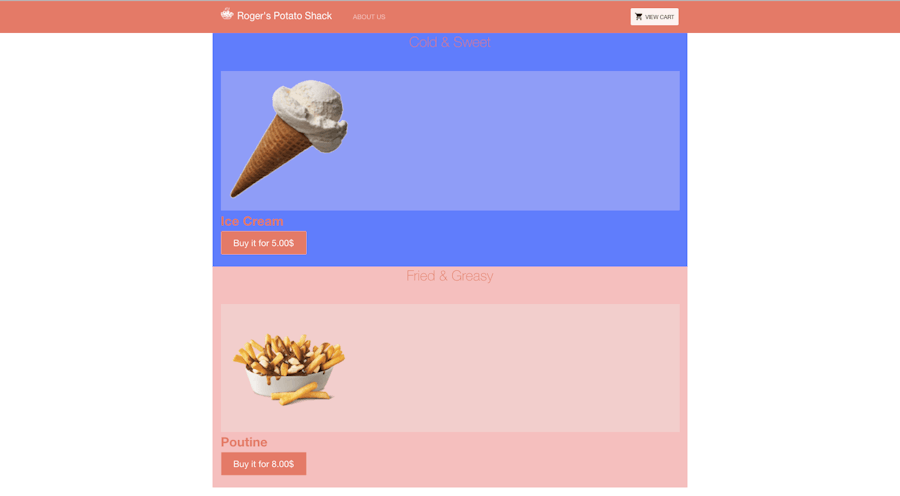
Now go ahead, browse our demo site and sift through our open source code!
Closing thoughts
The constraints I was against, especially not using plugins, made the multilingual task more complex. Jekyll can be sometimes silent about what's happening. For instance, at some point, I had two pages with the same permalink and the changes I was making would not show up.
CMS-wise, working with CloudCannon was super fun & straightforward!
This tutorial took me definitely more time than I expected (~1 day). To be fair, it was also my first one! I hope I explained enough stuff so that you don't get stuck on all the details I had to account for in building the demo. ;)
Happy coding!
If you've enjoyed this post, please take a second to share it on Twitter. Comments, questions? Hit the section below!


